Tomcat下Solr安裝配置
由於Solr基於java開發,因此Solr在windows及Linux都能較好部署使用,但由於Solr提供了一些用於測試及管理、維護較為方便的shell腳本,因此在生產部署時候建議安裝在Linux上,測試時候可以在windows使用。
Solr是一個基於Lucene的Java搜索引擎服務器。Solr 提供了層面搜索、命中醒目顯示並且支持多種輸出格式(包括 XML/XSLT 和 JSON 格式)。它易於安裝和配置,而且附帶了一個基於 HTTP 的管理界面。Solr 創建的索引與 Lucene 搜索引擎庫完全兼容。通過對Solr 進行適當的配置,某些情況下可能需要進行編碼,Solr 可以閱讀和使用構建到其他 Lucene 應用程序中的索引。此外,很多 Lucene 工具(如Nutch、 Luke)也可以使用Solr 創建的索引。
安裝環境
Windows 7 64bit
Apache-tomcat-8.0.9-windows-x64
Solr-4.9.0
JDK 1.8.0_05 64bit
安裝步驟
Tomcat和JDk的安裝在這裡就略過。
注意:solr4.9要求jdk1.7+
步驟一:
解壓solr-4.9.0到任意文件夾,我解壓到D:Installed Applicationssolr-4.9.0solr-4.9.0目錄下。
步驟二:
將solr-4.9.0dist solr-4.9.0.war復制到Tomcat webapp/目錄下,最好重命名為solr.war。
步驟三:
啟動Tomcat,會報錯,這步只是為了將solr-4.9.0.war解壓,所以手動解壓放在webapp目錄下面也是可行的。
步驟四:
方法一:
打開webappssolrWEB-INFweb.xml
找到:
這裡是需要配置solr/home,只需要修改/put/your/solr/home/here
這個目錄可以自定義,建議就用步驟一解壓的目錄,這裡需要非常注意:在Solr官網的Tutorial裡面有如下一段話:
How Solr Works with Tomcat
The two basic steps for running Solr in any Web application container are as follows:
Make the Solr classes available to the container. In many cases, the Solr Web application archive (WAR) file can be placed into a special directory of the application container. In the case of Tomcat, you need to place the Solr WAR file in Tomcat"s webapps directory. If you installed Tomcat with Solr, take a look in tomcat/webapps:you"ll see the solr.war file is already there.
Point Solr to the Solr home directory that contains conf/solrconfig.xml and conf/schema.xml. There are a few ways to get this done. One of the best is to define the solr.solr.home Java system property. With Tomcat, the best way to do this is via a shell environment variable, JAVA_OPTS. Tomcat puts the value of this variable on the command line upon startup
從這裡可以看出,指向的目錄需要包含conf/solrconfig.xml和conf/schema.xml這兩個文件,也就意味著在所指向的目錄中需要有conf子目錄,我就是因為官網的這段解釋,搞了半天沒有成功,其實是我理解錯了,我認為在solr.solr.home目錄下必須要有子目錄conf,conf裡面包含solrconfig.xml和schema.xml。但是其實conf目錄是放在collection1目錄下面的,collection是solr的一個Instance實例,solr中可以配置多個collection,可以有獨立的配置文件。
我這邊web.xml的配置為:
solr/homeD:/Installed Applications/solr-4.9.0/solr-4.9.0/examplejava.lang.String
特別需要注意配置裡面使用的是反斜槓"/",而不是windows下默認的""。
這裡我是直接指向example文件夾。
方法二(個人推薦):
在$TOMCAT_HOME/conf/Catalina/localhost目錄下新建solr.xml文件,內容為:
這邊需要注意,override需要設置為false,否則每次啟動tomcat都會重新解壓war文件覆蓋掉之前的配置,或者手動解壓後,把context path直接指向文件夾
步驟五:
將solr-4.9.0examplesolr目錄下的collection1目錄整體copy到solr-4.9.0example目錄下。讀者可以自己自定義路徑,web.xml中定義的,這個指向的目錄包含collection1目錄就好了。
步驟六:
將D:Installed Applicationssolr-4.9.0solr-4.9.0examplelibext目錄下的jar包copy到apache-tomcat-8.0.9lib目錄下,也可以copy到webappssolrWEB-INFlib下,讀者可以自行選擇(全局和局部的問題而已)。(如果啟動還是報錯,可以根據提示在solr-4.9.0dist中找相應的jar包)。
步驟七:
打開Tomcat conf目錄下的server.xml,找到下面一段代碼添加URIEncoding="UTF-8",添加中文支持。
connectionTimeout="20000"
redirectPort="8443"
URIEncoding="UTF-8" />
步驟八:
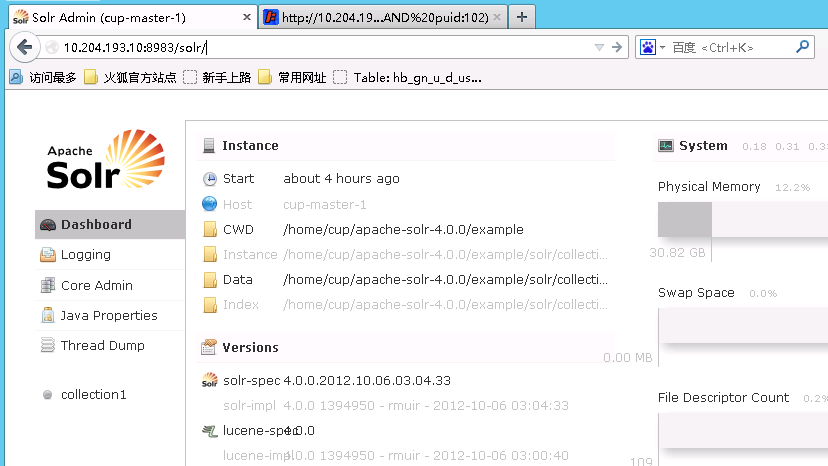
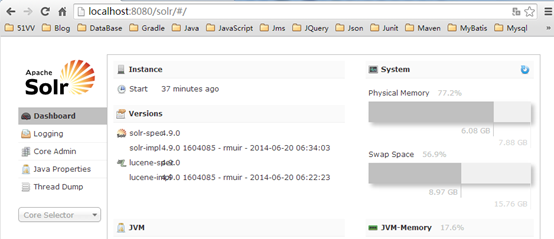
啟動Tomcat,打開浏覽器輸入:http://localhost:8080/solr/admin/,看到啟動畫面就說明安裝成功。
總結
由上面的安裝步驟可以看出來,其中步驟四是最核心的一步,這裡面需要了解Solr的運行原理:Solr是類似於Http接口的一種服務,它需要在Web容器(這裡是Tomcat)中部署,運行後,應用程序用Http請求的方式和Solr交互,包括添加索引、查詢等等。所以我們需要在Web容器中部署Solr,並且在Tomcat配置中指明Solr配置的目錄。
在Linux下的安裝方法跟Windows下沒有大的區別。