Windows XP Windows 7 Windows 2003 Windows Vista Windows教程綜合 Linux 系統教程
Windows 10 Windows 8 Windows 2008 Windows NT Windows Server 電腦軟件教程
 Windows教程網 >> Windows 7系統教程 >> Win7系統應用技巧 >> Windows7如何使用磁盤修復檢查工具

Windows7如何使用磁盤修復檢查工具

日期:2017/1/24 20:01:23      編輯:Win7系統應用技巧

  Win7系統出現了故障該怎麼辦?怎麼才能快速的修復Win7系統故障呢?Win7系統自帶的磁盤修復工具是一個很好的修復工具,下面就一起來看看具體的修復步驟吧。

  方法/步驟

  推薦:Windows7旗艦版下載

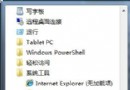
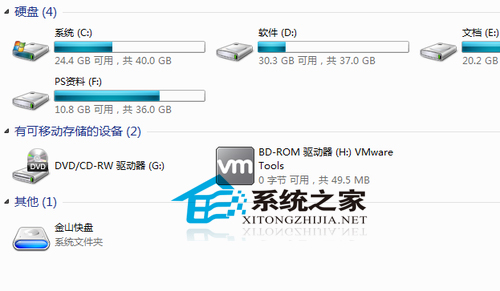
  1我們首先進入計算機,找到需要檢測的磁盤,比如C盤,如圖:
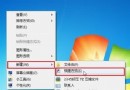
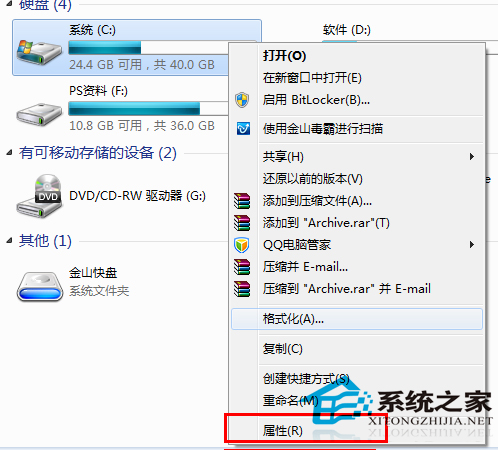
 Windows7如何使用磁盤修復檢查工具

  2在磁盤上右擊選擇屬性,如圖:

 Windows7如何使用磁盤修復檢查工具

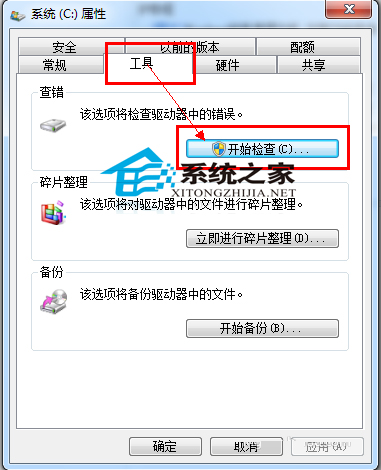
  3點擊工具選項卡中的開始檢查按鈕,如圖:

 Windows7如何使用磁盤修復檢查工具

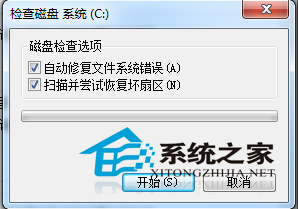
  4選中這兩個選項,並點擊開始按鈕,如圖:

 Windows7如何使用磁盤修復檢查工具

  以上就是使用Win7系統自帶的磁盤修復工具修復Win7系統故障的方法了,有遇到系統問題的Win7用戶,不妨試試用Win7系統自帶的磁盤修復工具進行修復吧。

Copyright © Windows教程網 All Rights Reserved