作者:宋傑
前言:今天要和大家分享的技巧是上周《將U盤與Win8.1設備和驅動器分開顯示》一文的擴展,這回我們要借助第三方軟件來改變Windows 8.1這台電腦的界面和布局結構,讓它看起來更像是Windows 7的樣子。
OldNewExplorer——它就是本文的主角,一個專門調整Windows 8.1“這台電腦”的工具,它可以實現對“設備和驅動器”重新分組以及移除Win8.1特有的6個文件夾等操作。
首先我們將這款工具下載到本地,它是綠色軟件,解壓後雙擊OldNewExplorerCfg.exe打開設置窗口,如下圖。
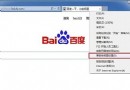
下載地址:http://down.tech.sina.com.cn/content/60647.html
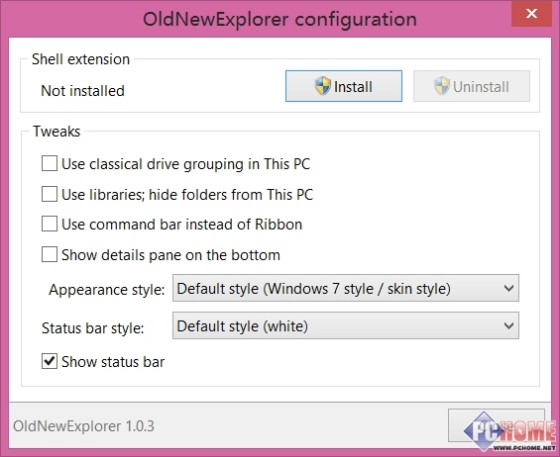
OldNewExplorer設置窗口
窗口上方(Shell extension)的Install和Uninstall按鈕用於激活和取消軟件對Windows 8.1的更改設置。
主要設置(Tweaks)項目說明:
1、Use classical drive grouping in This PC
將這台電腦上的驅動器分組形勢更改為經典模式,即Win7中的樣式。
2、Use libraries; hide folders from This PC
重新啟用庫文件夾,並隱藏Win8.1的6個文件夾。
3、Use command bar instead of Ribbon
用Win7風格的命令欄取代Ribbon菜單。
4、Show details pane on the bottom
在窗口下方顯示詳細信息面板。該項下面還有兩個子菜單,用於設定詳細信息面板的具體風格樣式。
5、Show status bar
顯示狀態欄(窗口最下方)。
勾選好需要更改的項目後,點擊上方的Install按鈕,重新運行文件管理器。
具體效果可以參考下圖:
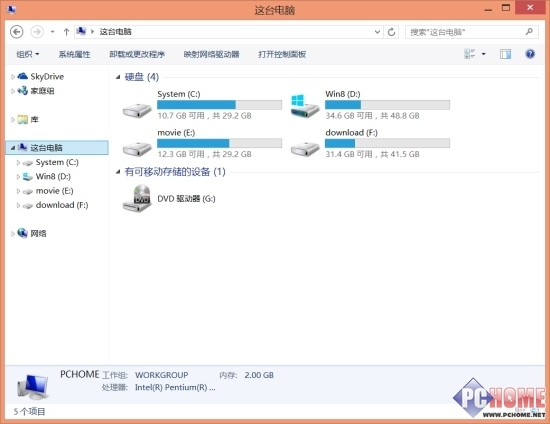
更改後的Windows 8.1這台電腦窗口
如果你正在為Windows 8.1的新風格而感到困擾的話,不妨試試這個工具吧。