這裡有些必要的我在下面附上下載包,apache、mysql、php都可以通過yum安裝。
RRDtool http://oss.oetiker.ch/rrdtool/
Net-snmp http://www.net-snmp.org/
Cacti http://www.cacti.net/
[root@localhost]# yum -y install httpd mysql-server php php-mysql mysql-devel
[root@localhost]# chkconfig httpd on
[root@localhost]# chkconfig mysqld on
[root@localhost]# /etc/init.d/mysqld start
這裡安裝好通過IP,測試下phpinfo看是否正常,順便看下sockets這個擴展有沒有開啟不然後期打開cacti會報錯。
Rrdtool安裝需要cairo、libxml2、pango庫支持,可通過yum安裝
[root@localhost]# yum -y install cairo-devel libxml2-devel pango-devel
[root@localhost]# tar zxvf rrdtool-1.4.7.tar.tar
[root@localhost]# cd rrdtool-1.4.7
[root@localhost]# ./configure --prefix=/usr/local/rrdtool
這裡說下,可能會報錯,需要安裝gcc套件,直接yum安裝gcc就可以了。
[root@localhost rrdtool-1.4.7]# make && make install
[root@localhost rrdtool-1.4.7]# ln -s /usr/local/rrdtool/bin/* /usr/local/bin/
[root@localhost ~]# tar zxvf net-snmp-5.6.1.1.tar.gz
[root@localhost ~]# cd net-snmp-5.6.1.1
[root@localhost net-snmp-5.6.1.1]# ./configure --prefix=/usr/local/net-snmp
[root@localhost net-snmp-5.6.1.1]# make && make install
[root@localhost net-snmp-5.6.1.1]# cp EXAMPLE.conf /etc/snmpd.conf
[root@localhost ~]# ln -s /usr/local/net-snmp/bin/* /usr/local/bin/
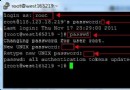
[root@localhost ~]# vim /etc/snmpd.conf
找到這一行: #rocommunity public localhost 去掉注釋
[root@localhost ~]# /usr/local/net-snmp/sbin/snmpd -c /etc/snmpd.conf
加入開機啟動
[root@localhost ~]# echo "/usr/local/net-snmp/sbin/snmpd -c /etc/snmpd.conf " >>/etc/rc.local
[root@localhost ~]# tar zxvf cacti-0.8.7i-PIA-3.1.tar.gz
[root@localhost ~]# mv cacti-0.8.7i-PIA-3.1/* /var/www/html/
將cacti的網站目錄移到web目錄
[root@localhost ~]# chown -R apache:apache /var/www/html/
#連接到mysql創建數據庫
mysql> create database cacti;
#創建cacti數據庫
mysql> insert into mysql.user(host,user,password) values ('localhost','cacti',password('123456'));
#建立用戶cacti,密碼123456
mysql> flush privileges;
重載mysql授權表
mysql> grant all on cacti.* to cacti@'localhost' identified by '123456';
把數據庫cacti授權於用戶cacti
[root@localhost ~]# cd /var/www/html/
[root@localhost html]# mysql -ucacti -p123456 cacti<cacti.sql #將cacti數據庫導入
修改網站配置文件,使用正確連接數據庫參數
[root@localhost html]# vim include/config.php
$database_type = "mysql";
$database_default = "cacti";
$database_hostname = "localhost";
$database_username = "cacti";
$database_password = "123456";
$database_port = "3306";
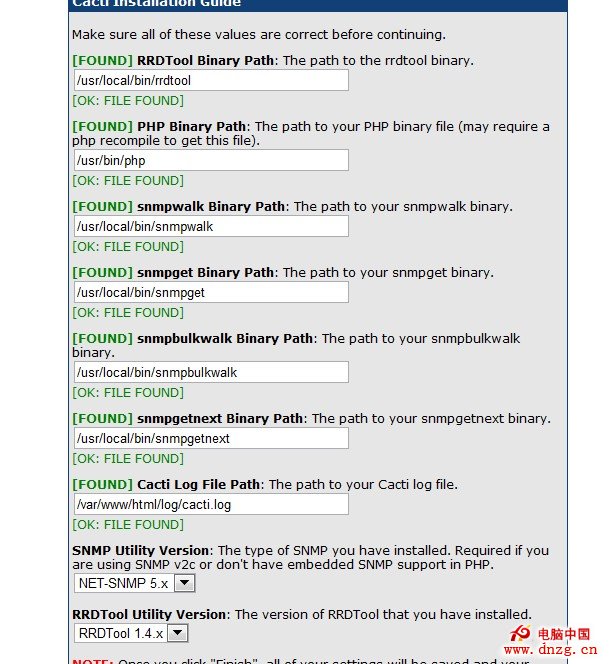
使用浏覽器打開http://192.168.0.33/install/ 就出現所安裝界面了。
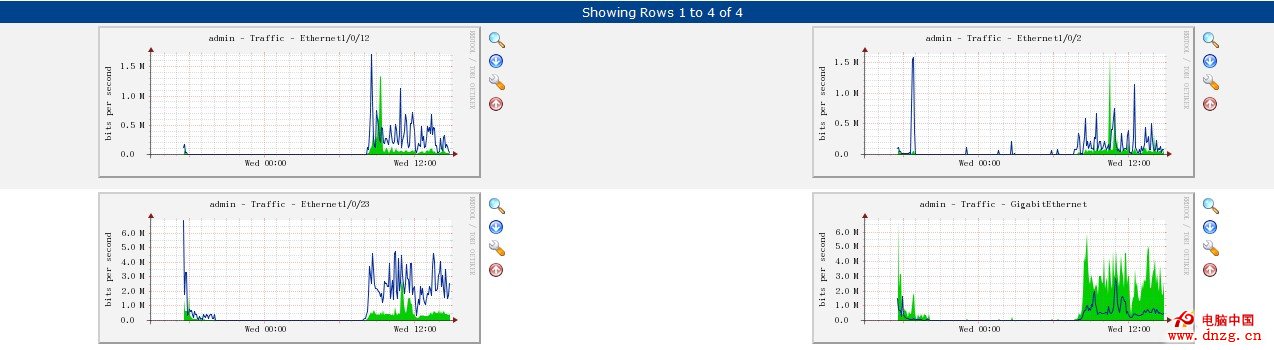
做了個流量監控後期再完美下!