今天我們在這裡針對網站速度這方面來一起交流,提高網站速度對於運維工程師、程序員來說變得至關重要。運維工程師首先得在日常網站運維中發現影響網站速度的各種因素得逐個推動然後解決。
提高網站速度體驗除了本身網站程序優化外,對於LinuxSA來說還有大量的工作要做,優化系統內核、調整Web服務器的參數、優化數據庫、增加網站架構緩存等等一系列的工作。
對於網站緩存,目前主流的HTTP加速器主要有Varnish、Nginx_proxy、Squid等,隨著Nginx Web 高速反向代理被各大中型網站使用,其集成緩存的功能(Nginx_proxy)也日益強大,目前企業中也在大量使用。今天我們來研究一下 Nginx_Proxy緩存如何有效的來清理。如下使用Shell腳本來自動化清理,直接上腳本如下:
#! /bin/sh
#Auto Clean Nginx Cache Shell Scripts
#2013-06-12 wugk
#Define Path
CACHE_DIR=/data/www/proxy_cache_dir/
FILE="$*"
#To determine whether the input script,If not, then exit 判斷腳本是否有輸入,沒有輸入然後退出
if
[ "$#" -eq "0" ];then
echo "Please Insertclean Nginx cache File, Example: $0 index.html index.js"
sleep 2 && exit
fi
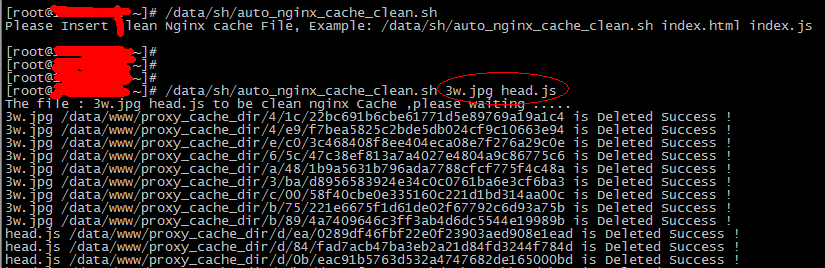
echo "The file : $FILEto be clean nginx Cache ,please waiting ....."
#Wrap processing for the input file, for grep lookup,對輸入的文件進行換行處理,利於grep查找匹配相關內容
for i in `echo $FILE |sed 's//\n/g'`
do
grep -ra $i ${CACHE_DIR}| awk -F':' '{print $1}' > /tmp/cache_list.txt
for j in `cat/tmp/cache_list.txt` do
rm -rf $j
echo "$i $j is DeletedSuccess !"
done
done
#The Scripts exec success and exit 0
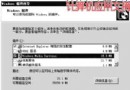
如下為執行清除腳本後的截圖: