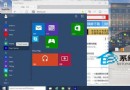
Win10應用商店中捆綁了不少自帶的應用,這些軟件不能用簡單的方式卸載。但是可以通過PowerShell命令行來卸載。使用命令卸載Win10自帶應用,每一款應用都有一條對應的卸載命令,本文就來介紹一下Win10通過PowerShell命令卸載自帶應用的方法。
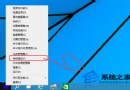
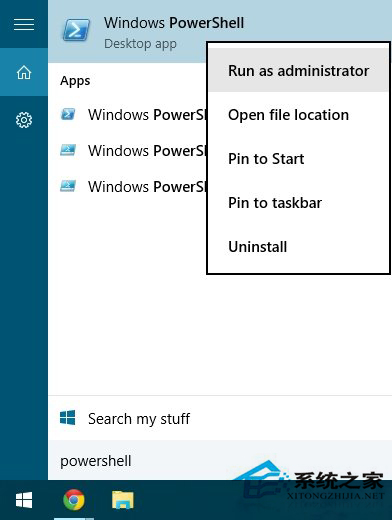
首先在開始菜單中找到它,右鍵點擊,選擇“以管理員身份運行”,然後想要卸載什麼,就輸入相應的命令。
OneNote:
Get-AppxPackage *OneNote* | Remove-AppxPackage
3D:
Get-AppxPackage *3d* | Remove-AppxPackage
Camera相機:
Get-AppxPackage *camera* | Remove-AppxPackage
郵件和日歷:
Get-AppxPackage *communi* | Remove-AppxPackage
新聞訂閱:
Get-AppxPackage *bing* | Remove-AppxPackage
Groove音樂、電影與電視:
Get-AppxPackage *zune* | Remove-AppxPackage
人脈:
Get-AppxPackage *people* | Remove-AppxPackage
手機伴侶(Phone Companion):
Get-AppxPackage *phone* | Remove-AppxPackage
照片:
Get-AppxPackage *photo* | Remove-AppxPackage
紙牌游戲(還敢要錢的那貨):
Get-AppxPackage *solit* | Remove-AppxPackage
錄音機:
Get-AppxPackage *soundrec* | Remove-AppxPackage
Xbox:
Get-AppxPackage *xbox* | Remove-AppxPackage
以上就是Win10通過PowerShell命令卸載自帶應用的方法的介紹了,每在PowerShell中輸入一條命令就卸載了對應的軟件,所以你可以自主選擇你要卸載的應用。